There is something about Springtime that makes you want to fling open the windows, de-clutter, spring clean, and simplify. For me– it has me itching to start home projects!
I’m a project gal! I absolutely LOVE tackling projects around the house and I enjoy the process of transforming a space!
This week, I’ll share my favorite DIY adventures and hopefully we’ll all get motivated to improve things throughout our homes!
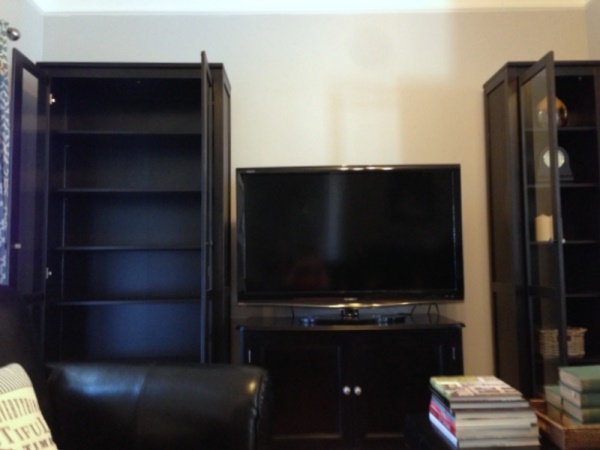
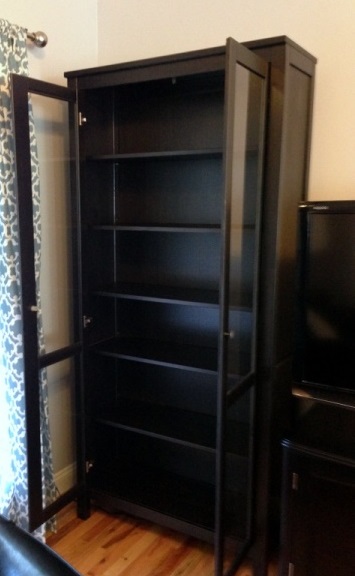
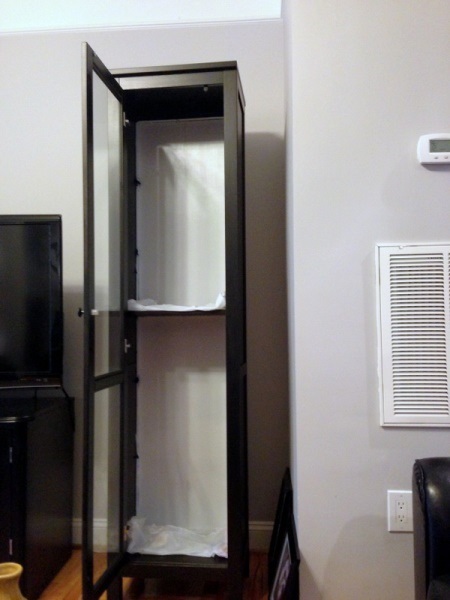
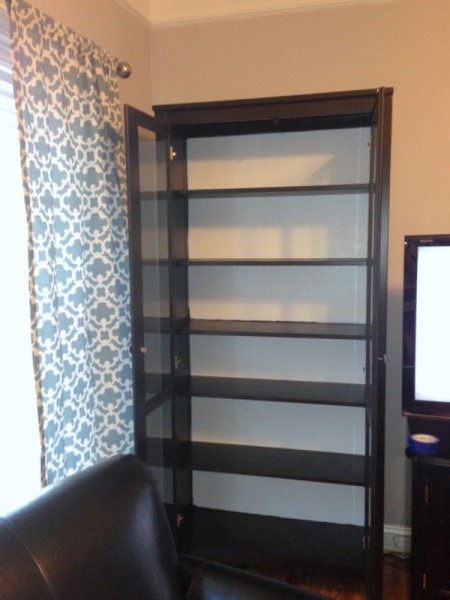
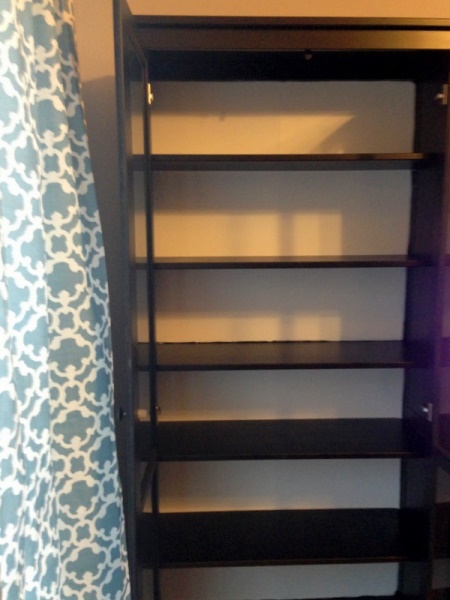
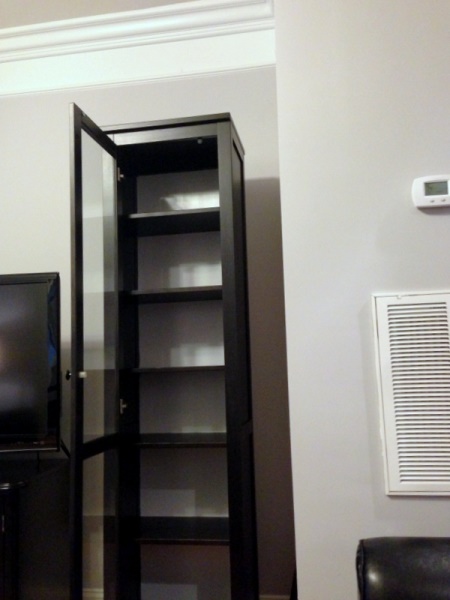
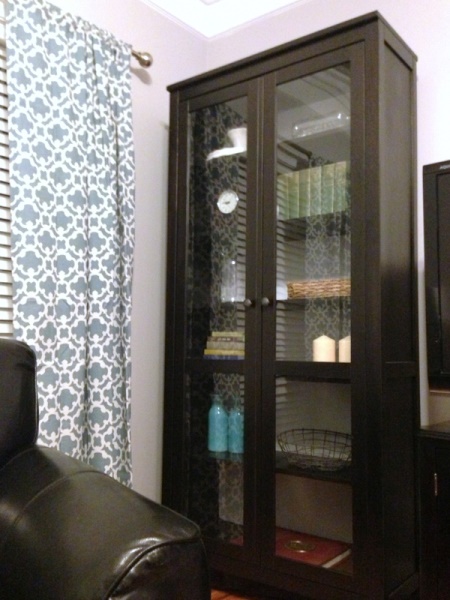
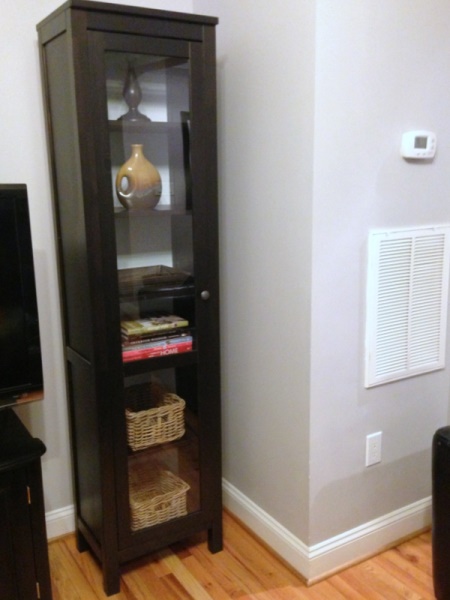
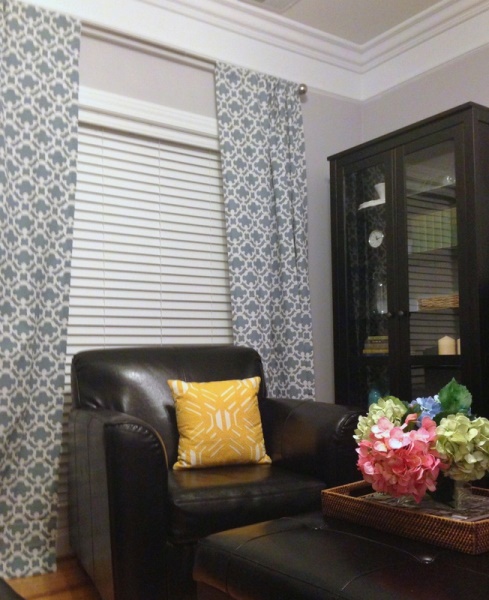
First project on the list are my black bookshelves! They are classic black and coordinated well with my gray wall color….the only problem? Too much black! They were making our living room look too dark. I contemplated adding interior lights, wall paper, or painting the interior. A fresh coat of interior paint won out!
Let’s get started y’all!
Step 1: Remove all items from shelves
Step 2: Clean shelves to ensure all dust is removed
Step 3: Tape and cover areas with drop cloth
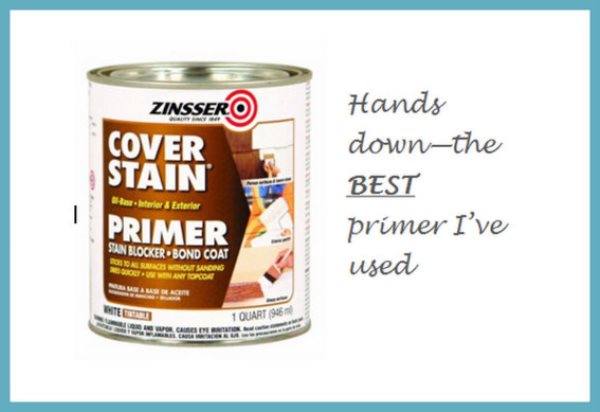
Step 4: Gather supplies (foam brushes, roller, primer, paint and paint tray)
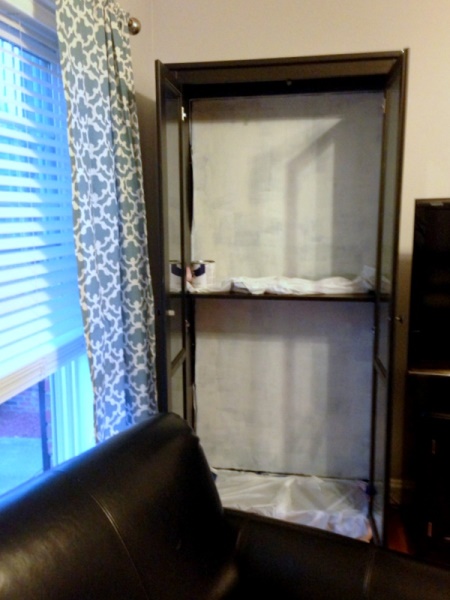
Step 5: Apply 1st coat of Primer
**At this point… I started nervously thinking I had just completely ruined my bookshelves! Don’t panic 🙂 You just need several coats of primer to achieve good, even coverage!**
Step 6: Apply 2nd coat of Primer
Step 7: Apply 1st coat of paint
Step 8: Apply final coat of paint
Step 9: Let paint completely dry and cure overnight
Step 10: Remove tape and fix any touch-ups
Steps 11: Add items back to shelves
